Ehitage Fidget Spinner ise: kuidas see töötab
Ükski teine mänguasi pole koolides nii populaarne kui "Fidget Spinner". See praktiline näpunäide näitab teile, kuidas saate hõlpsalt ise sellist näpitsadraami ehitada.
Ehitage Fidget Spinner: materjalid ja tööriistad
Fidget Spinneri ise ehitamiseks vajate järgmisi materjale ja tööriistu:
- 5 pudelikorki (eelistatavalt plastist)
- 1 kuuma liimiga kuumliimipüstol või alternatiivne liim, millega saab liimida ka plasti
- 1 must pastapliiats, mida saab kasutada ka plastikule kirjutamiseks
- 1 puupulk (nt hambaork)
Koostage programmi Fidget Spinner põhivorm
Nüüd saate hakata Fidget Spinneri põhikuju ehitama pudelikorkidest. Näitame teile kõiki meie pildigalerii kõiki samme ka artikli lõpus.
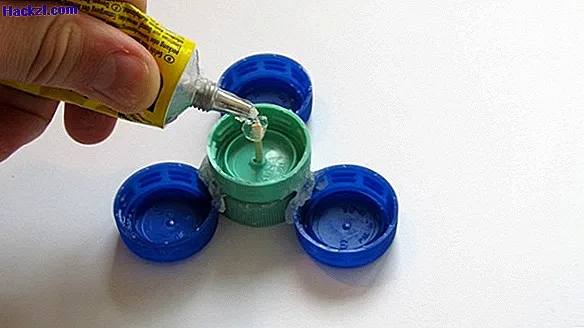
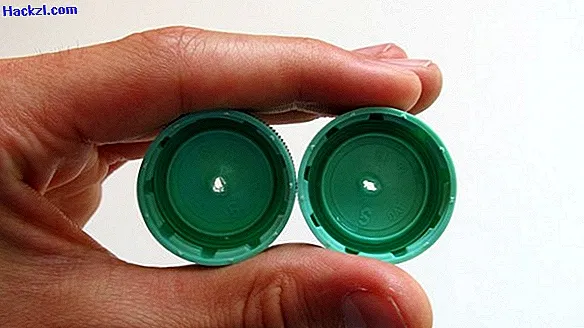
- Tehke auk kahe pudelikorgi sisse ja liimige need tasasele küljele kokku. Olge ettevaatlik, et auk ei liimiks.
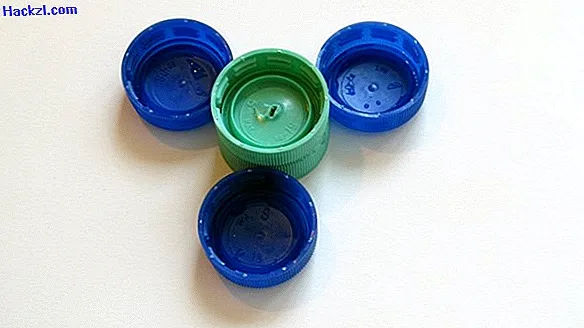
- Kui liim on kuivanud, pange liimitud pudelikorgid tasaseks ja asetage kolm ühtlasemalt nende ümber.
- Märkige kolme pudelikorgi asukoht musta liimiga pliiatsiga liimitud pudelikorkide külge.
- Nüüd liimige kolm pudelikorki oma kohale.
Ehitage pöörd
Kas põhikuju on viimistletud ja hästi kuivatatud? Siis võite hakata Fidget Spinnerit pisut "pöörama".
- Lükake puupulk (nt hambaork) läbi keskel oleva augu ja lõigake see nii, et see pisut välja ulatuks.
- Lõpuks tehke puupulga mõlemasse otsa natuke liimi. Pöörake erilist tähelepanu sellele, et puupulgake võib pärast ikkagi pöörduda. Liim on seal, et vältida puupulga väljalangemist.
- Nüüd saate oma DIY-voldik-vurrit puupulgal hoida ja seda ketrama hakata.
Kas soovite rohkem DIY näpunäiteid? Näitame teile järgmises praktilises näpunäites, kuidas saate mobiiltelefoni tasku ise sokist üles ehitada.
Viimased videod
1. samm: puurige pudelikorki augud.
2. samm: liimige pudelikorgid kokku.

3. samm: paigutage liimitud kaante ümber veel kolm kaant.
4. samm: märkige asukoht.

5. samm: liimige kaas kinni.

6. samm: kleepige puust pulgad läbi.

7. samm: liimige puupulgad.