
Githubi õpetus: peate neid põhitõdesid teadma
Selles õpetuses tutvustame teile Githubit. Github on platvorm, kus saate hallata, salvestada ja jälgida Giti projekte ja kasutajaid.
Githubi õpetus: mis on git?
Enne kui saate aru, mis Github on, peate kõigepealt mõistma Giti mõistet:
- Git on projektide versioonijuhtimise tarkvara. Võite lihtsalt tagasi liikuda vanade kioskite juurde või töötada projekti juures koos mitme inimesega.
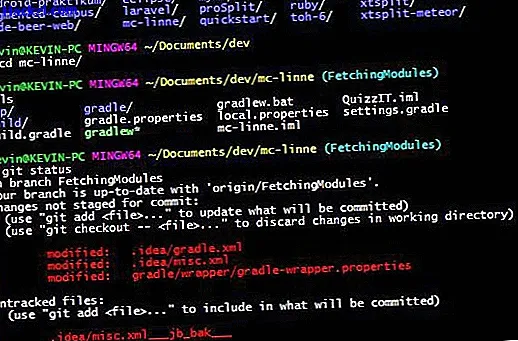
- Saate kasutada Gitit oma opsüsteemi käsuribal või Github Desktopis, Giti kliendil, millel on graafiline kasutajaliides. Giti kasutamisel peate teadma järgmisi käske.
- git-kloon [URL]: kloonige Giti-hoidla URL-ist teie kohalikku arvutisse.
- git init: Giti projekti initsialiseerimine kohapeal. Võite selle hiljem valikuliselt Githubisse või mõnda teise hostisse laadida.
- git add: failide lisamine jälgimisloendisse. See samm on kohustuslik, et seejärel oma töö hoidlasse üles laadida.
- git sitoutuda: muudatuste kinnitamine. See on kabiin, kuhu saate igal ajal tagasi minna. Failide sidumine enne nende kaugesse hoidlasse saatmist.
- git push: tõukega saadate kõik kohustused Githubi või valitud muu pakkuja serverites asuvasse kaughoidlasse.
Õpetus: mis on github?
Github on teie Git-projektide host ja sellel on sarnased omadused nagu sotsiaalsel võrgustikul.
- Giti abil pääsete oma Githubis salvestatud projektidele juurde igalt poolt.
- Githubis säilitatavad hoidlad on alati avalikud. Nii et teised kasutajad saavad teie projekte vaadata. Privaatsed hoidlad on saadaval ainult kuutasu eest.
- Samuti saate olemasolevatesse programmidesse panustada, parandades vead ja osaledes aktiivselt avatud lähtekoodiga tööriistades.
- Githubit kasutatakse enamasti ulatuslike projektide jaoks teatud programmeerimiskeeltes. Kuid Githubis on võimalik hallata ka lihtsaid dokumente.
Õpetus: Giti ja Githubi seadistamine
Enne kui alustate Giti ja Githubiga, peate vajama Githubi kontot ja installima Giti kohapeal. Siit saate teada:
- Esmalt looge Githubis konto. See on üsna lihtne ja seda saab teha kiiresti ja lihtsalt.
- Githubi produktiivseks kasutamiseks peate nüüd oma kohalikus arvutis Gitit.
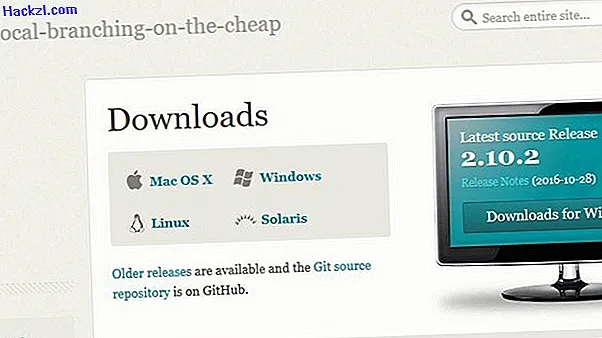
- Nüüd installige Git. Valige oma opsüsteemi jaoks vajalik installiprogramm.
- Käivitage Git Bash, mille olete just Windowsi installinud. Käivitage tavaline terminal MacOS-is ja Linuxis.
- Funktsiooniga 'git config - globaalne kasutajanimi.nimi "[Nimi]"' 'peate nüüd oma nime määratlema.
- Nagu varem, kasutage oma e-posti aadressi määramiseks 'git config - globaalne kasutaja.email' [Mail] ''. Kasutage siin sama posti, mille täpsustasite Githubis.
Githubi õpetus: hoidla seadistamine
Kui soovite alustada projektiga, saate hoidla luua kahel viisil:
- Uue hoidla loomiseks klõpsake Githubis oma kasutajanime kõrval väikest raamatut.
- Pange oma projektile siin nimi. Nagu eespool kirjeldatud, peate projekti avalikustama või maksma kuutasu.
- Seejärel klõpsake rohelist nuppu "Loo hoidla". Seejärel saate hoidla lokaalselt lisada, kasutades git-klooni, nagu eespool kirjeldatud.
- Looge hoidla lokaalselt git init abil. Seejärel saate lingi kohaliku ja veebipõhise repoga siduda aadressiga 'git remote add origin // github.com/[Kasutajanimi ^
- Teil on nüüd Githubis veebirepositoorium, nii et saate oma projekte hallata ja neid kõikjalt kasutada.

Sellest, kuidas kasutada oma lugemise jaoks märgistust, saate lugeda Githubist järgmisest praktilisest nõuandest.